Create and manage reusable email templates
Create, find and maintain a reusable eMailSense design. Check the template identity before changing it; preparing a template does not select recipients or release a campaign.
Use Design an email template for images, text, spacing and widgets. Use Prepare an email campaign for the audience, sender and release checks.
Start a new reusable template
- In eMailSense, open Templates and choose Create template.
- Give the design a recognisable Template name, such as “New collection newsletter”. This is the reusable design’s name; review the campaign subject separately.
- Review the Base and Extended gallery choices. Allow the designs to load before choosing.
- Browse the available designs using Next and Prev. A Blank design is also available; it may be on a later page.
- Check the intended design and name before using Create & Design, the form’s action for creating the template and proceeding to the visual builder.
- Review the resulting template name and canvas before editing. Check the intended saved design in Templates afterwards.
To leave this form without creating a template, choose All templates before using Create & Design. Returning to the list and creating a design are separate actions.
If the design you want is not visible
Check the gallery category and page number. Wait for Loading templates to finish, then use Next or Prev as needed. Do not repeatedly use Create & Design to resolve a gallery loading problem. If creation gives an unexpected result, inspect Templates for the intended name before trying again to avoid duplicates.
Review and edit a reusable template
- In eMailSense, choose Templates. Find the intended design using the search, Base/Extended category filter and date/name sort. Use List or Grid view as preferred.
- Choose the template’s Preview to review its presentation, or Edit when you intend to work on that saved reusable design.
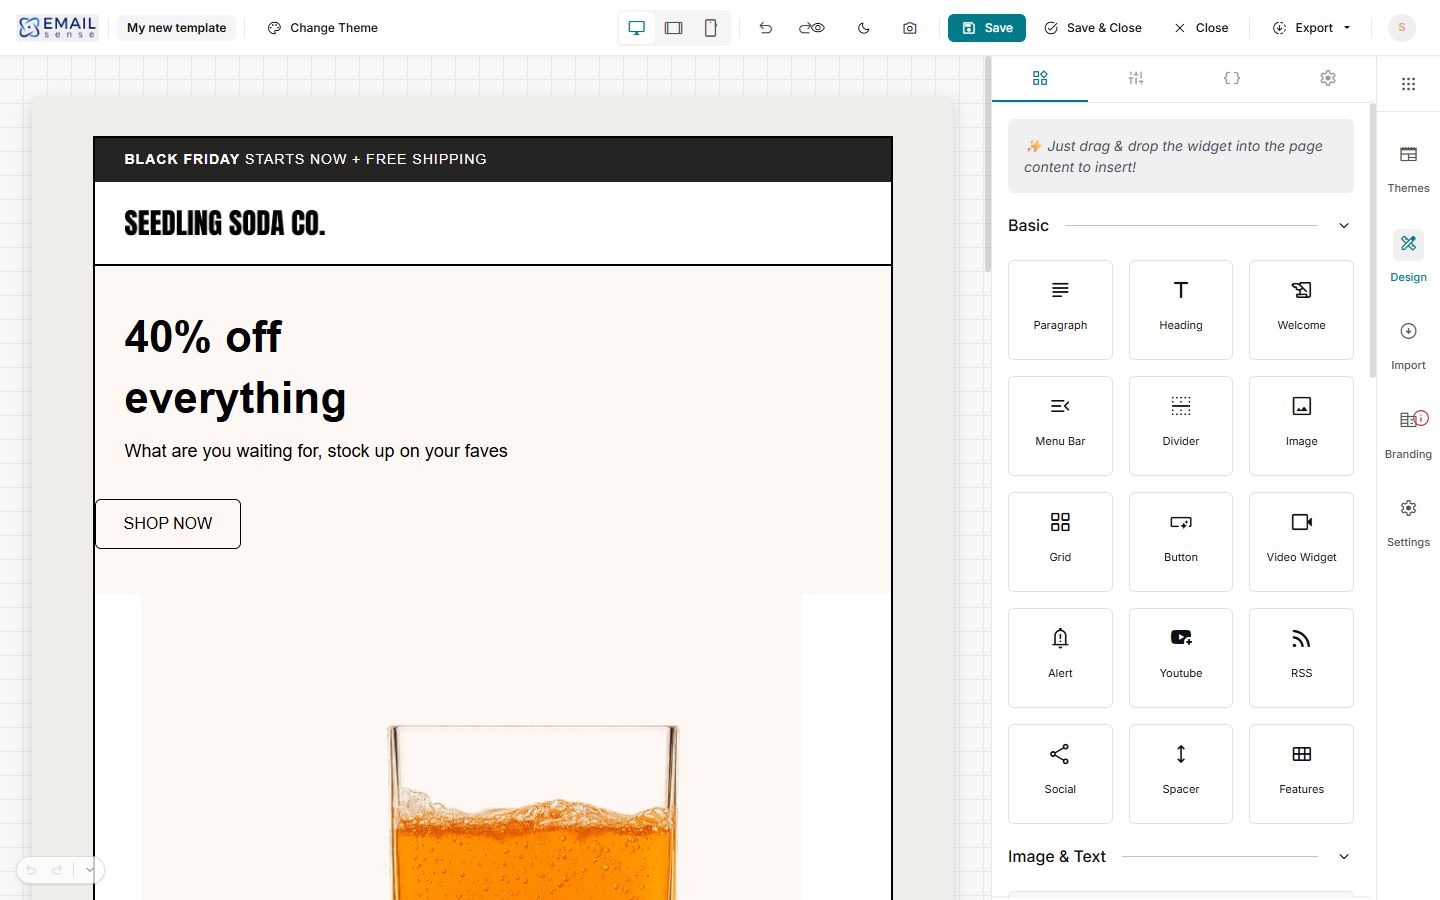
- In the designer, check the template name. The canvas and the Widgets palette are separate areas. Basic widgets include Paragraph, Heading, Image, Grid and Button; the palette also offers Image & Text layouts.
- Select the element you intend to work on. A heading exposes Heading Type, Font Family, Font Weight, Font Size, Text Color, Link Color and Alignment. Check the selected element’s name before changing a value.
- For a logo or photograph, select its image. Review Browse Media or Paste Url, the existing image, Alternate Text, link Type/URL and sizing controls. Use meaningful alternative text and check the destination of any linked image.
- Use page Settings for the overall Font Family, Container Width, Page Padding, Block Padding and backgrounds. These page-level settings are different from one heading’s or image’s settings.
- Review the desktop, tablet and mobile views. They help inspect the design layout; also check a controlled test in the email programs your audience uses before releasing a campaign.
- Save saves the intended template work; Save & Close saves and leaves. Choose Close, labelled Close without saving, when you intend to leave without saving the current edits. Reopen the intended design to check a saved change.
Choose a template export deliberately
- Check the intended template name and canvas before opening Export.
- Choose the output appropriate to the work you intend to do: Inline CSS (Email-ready HTML), HTML with Absolute Links or HTML with Assets (ZIP Package).
- Check the actual downloaded file and its contents. For a ZIP, inspect both the HTML and the included assets before relying on the package.
- Check images and links in the place where you intend to use the export. Keep the original files and the intended saved template separately.
- If the export will become an email, review a controlled received message in the intended email programs. The export format alone does not guarantee identical rendering or successful delivery.
An export and a saved template are separate items. Do not assume downloading an export saves current changes, transfers an audience or sends a campaign. If a download is missing or incomplete, check the browser’s downloads and the intended filename before repeating it or changing the template.
Manage the intended reusable template
In Templates, open the three-dot menu on the intended design. The menu offers Open builder, Edit as Custom HTML, Preview, Rename, Copy and Delete. Check the design’s name before choosing; a library design and an individual campaign remain separate items.
Rename a reusable template
- Find the intended design in Templates and open its three-dot menu.
- Choose Rename and check the existing Template name in the dialog.
- Enter the intended recognisable name, then use Save only when you intend to keep it.
- Check the name in the library and when selecting the intended campaign template. A template name is separate from a campaign’s recipient-facing subject.
- Use Cancel to leave the rename dialog without submitting the name change.
Copy, Delete and Edit as Custom HTML are separate actions, not alternative ways to rename a design. Before copying or deleting, establish which design you intend to retain and inspect the actual result. Do not assume a deletion is recoverable or that editing library HTML automatically changes existing campaigns. If a design appears missing, check the search, category and sort before trying to recreate or delete anything.
Review themes before replacing a design
- Open the intended reusable template and check its name and existing content.
- Choose Change Theme to open Select Theme.
- Browse Base for simpler layouts or Extended for more structured designs. For example, compare a simple announcement with a product promotion before deciding what layout you need.
- Read the chooser carefully: its theme cards apply immediately when selected. To browse without applying a design, use Close.
Prepare a separate working copy before replacing a design you need to retain. After an intended change, review all text, images, links, personalisation and unsubscribe content, then check the desktop and narrow layouts before saving. Do not assume a theme change preserves every part of your previous layout or that Undo will restore it.
If you selected the wrong theme, stop and inspect the actual result. Do not assume Close without saving reverses a theme application. Check the saved design before making another replacement, and use the separate copy you retained when recovering earlier content.
Keep template work separate from a campaign release
A reusable design is not a mailing list or a released campaign. After preparing the design, return to the intended campaign and review its actual Template step, recipients, sender and release choices. Do not assume that editing a library template updates every existing campaign that previously used it.
Check the result of a theme replacement
- Keep a separate design you can return to before choosing a replacement theme.
- Open Change Theme and select the intended card only when ready to replace the layout.
- Inspect the resulting canvas. A replacement theme can bring its own sample text, images, navigation and links, replacing content you previously entered.
- Replace every sample claim, image and destination with the intended content. Check personalisation and unsubscribe content separately.
- Save the intended finished work, wait for its confirmation, then reopen the same template and inspect it before preparing a campaign.
Do not rely on Close without saving or Undo to restore a layout after applying a theme. Inspect the actual saved design and use the separate copy you retained when you need to recover earlier content.
Update the template's thumbnail
- Finish the intended design and save it. Check the save confirmation.
- Use the camera control labelled Capture as thumbnail.
- Wait for Thumbnail saved. before leaving the designer.
- Return to Templates and inspect the image on that template's card. Check its name as well as its picture before opening it.
The thumbnail helps you recognise a design in the library. It is separate from the email's content and does not establish how a received message will render. If the thumbnail is old or missing, confirm that you captured the intended design and check the list before repeating the capture.
