General Content Pages - Uploading images
When you upload content images to ShopTill-e, they’re automatically made available in all the areas where you’d edit content… e.g. content pages, news items, blog posts (NOTE: Product images are uploaded when editing products).
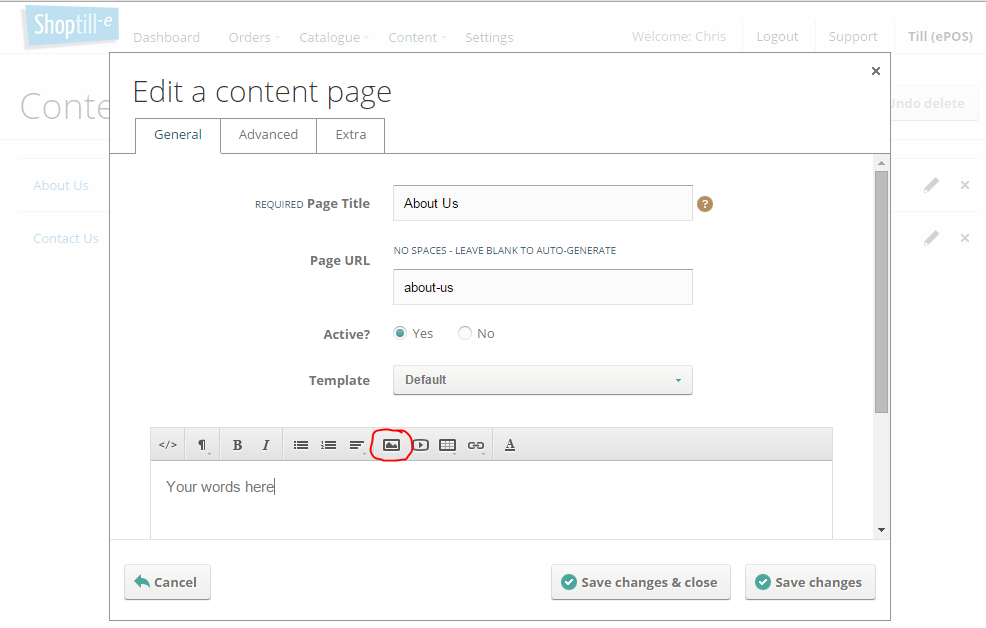
To insert/add images, start editing the content into which you’d like to insert an image. In this example, we’re editing our ‘About Us’ page. To add a photo into the content, click on the ‘Insert Image’ button:
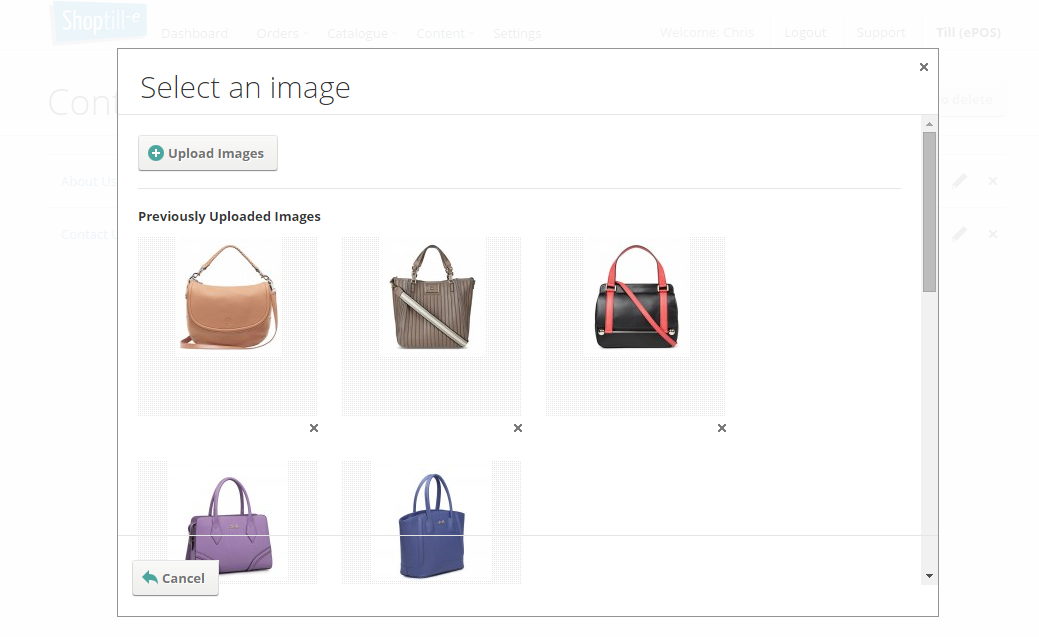
This will open up the ‘Select an Image’ modal window, showing any previous images you may have uploaded. Don’t worry if it’s empty, uploading a new image is the next step! To upload a new image, click on the ‘Upload Images’ button. Select an image (or images) to upload and then click ‘Start upload’ to start uploading them. Once they’ve all been uploaded, you’ll see a thumbnail for each uploaded image. To insert an image into your content, just click the thumbnail:
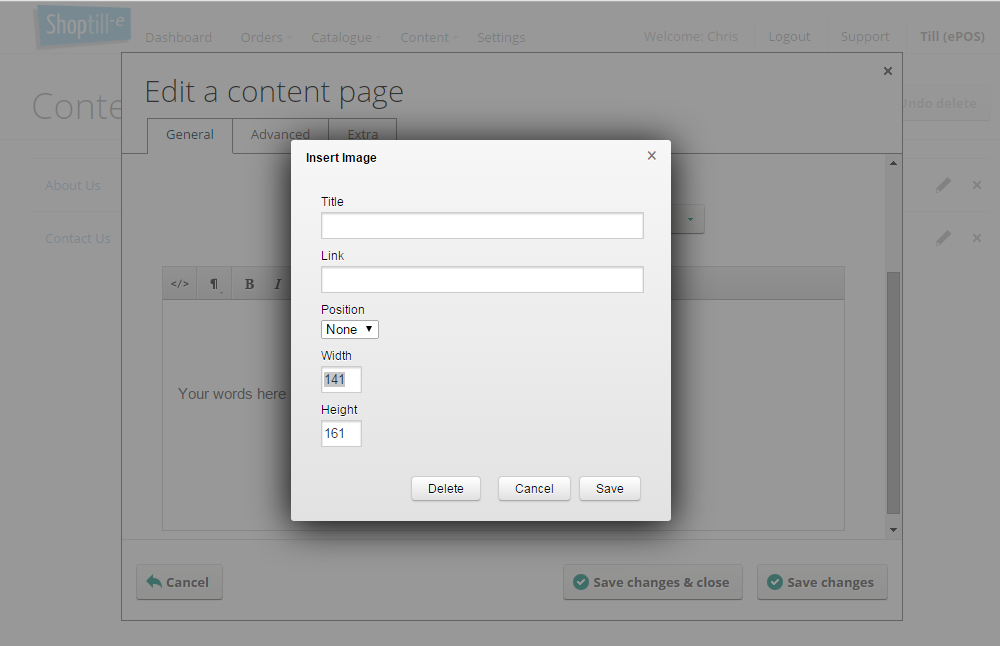
Right, that’s inserted the image, but it doesn’t look very good just stuck in the middle of the content! To change the alignment of the image, click on it once. That should bring up a window with some options. To make the image sit to the left or right of the page, change the ‘Position’ input accordingly. Click ‘Save’ and your image should be nicely aligned:
Deleting an image
To delete an image, just click on the relevant little ‘X’ in the screen that displays the image thumbnails. You'll see a confirmation window pop up - just click 'Yes' to delete the image: