Product Images
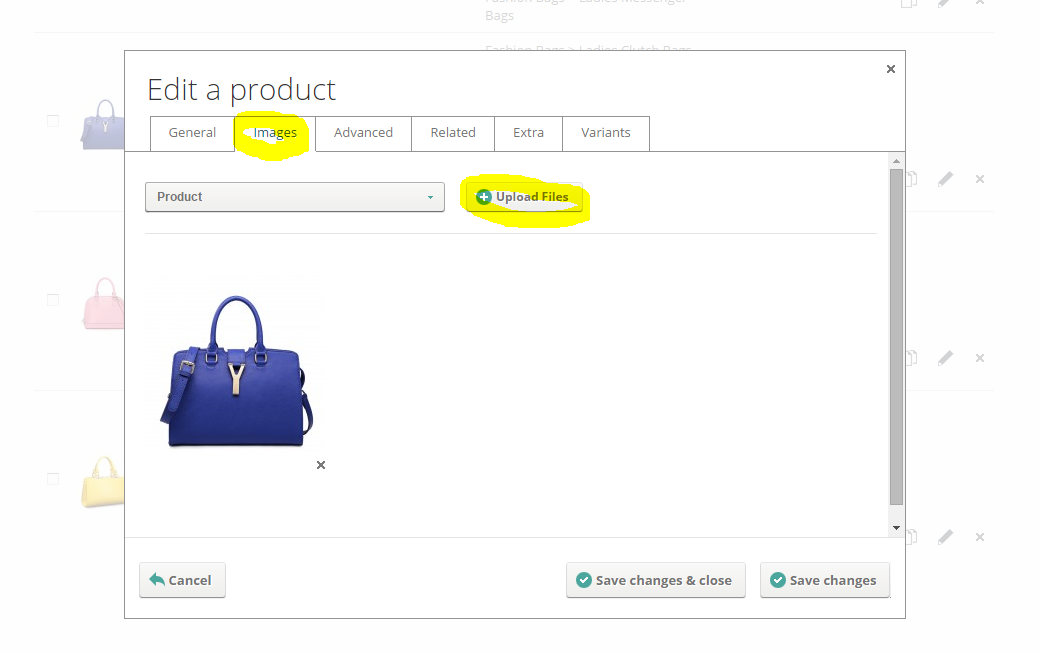
Managing product images for your ecommerce website store is really easy. Once you've saved your product, click on the 'Images' tab. That should show you a dropdown menu and a list of any images you may previously have uploaded for that product.
To add a new image (or several images at the same time), select what type of image you're adding... this will generally be 'product', but if your template supports variant images then you can associate images with product variants. This is useful when, for example, you may want to upload an image to illustrate your product in a specific colour.
Once you've selected the type of image you're uploading, click the 'upload files' button. That should pop open a dialog box where you can select the image files to upload. Supported image types are jpg/png/gif. Once you've selected the images (you can select multiple images by holding down Ctrl and clicking on additional images) click the 'Start upload' button.
NOTE: it's best to use Google Chrome Browser App to do this

That will then upload your images to your ecommerce website, showing you the progress along the way. There is no need to specifically resize images before you upload them as the ShopTill-e system automatically resizes the images as required. If you upload more than 1 photo for a product these can be reordered by dragging and dropping them.
Bulk / Mass Image Upload
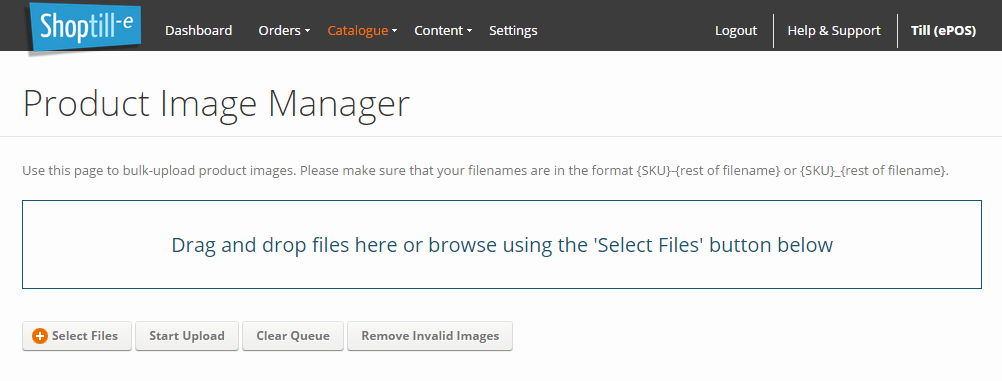
You can also use our mass/bulk image uploading system which is found in 'Catalogue > Image Manager' here you can upload a series of images either by dragging and dropping (using a PC, Mac etc) or browse select. For ShopTill-e to be able to link these to the correct product in your catalogue, each image file must contain the relevant product/SKU code. The images can be named whatever you like however the first part needs to be the product/SKU code then you can use an underscore _ or a hyphen - as a separator so in this format in the format {SKU}-{rest of filename} or {SKU}_{rest of filename}:


